Sources:
JetBot AI Kit Assembly
Components and screws
Please check the components and screws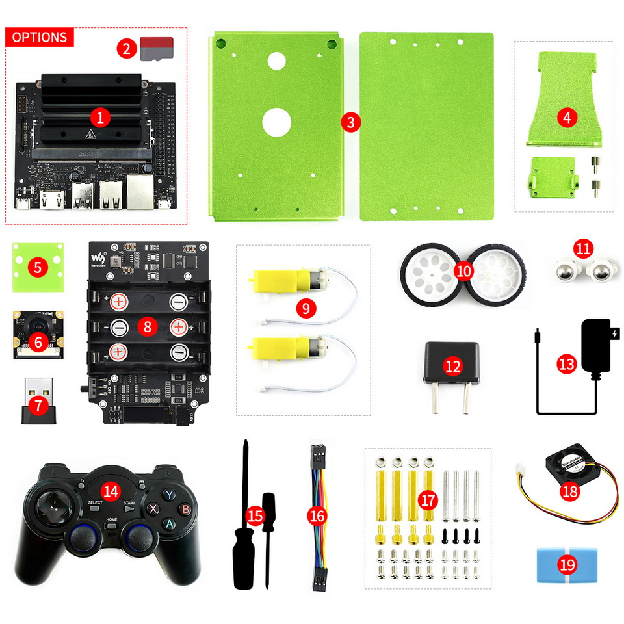
1. Assemble motors.
You will need silver colored metal nuts for M3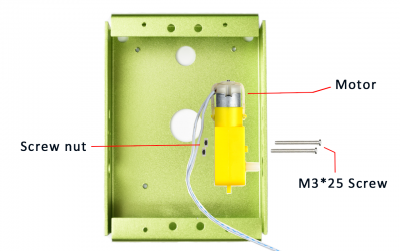

4. Set standoffs on metal box for assembling JetBot expansion board.
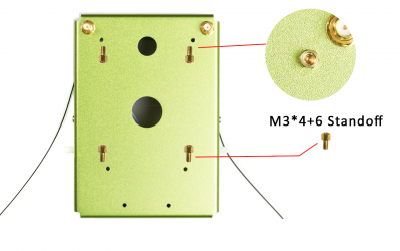
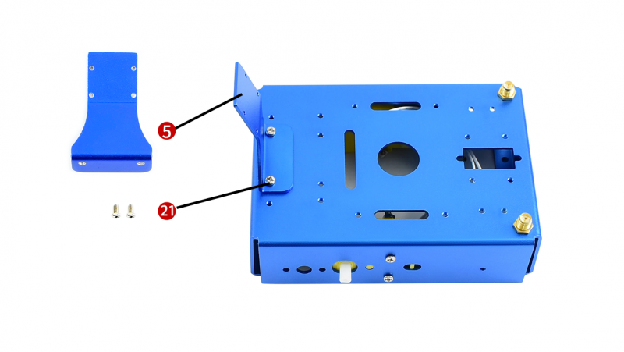
3. Mounting the Camera holder to the metal box,
fix the camera to the holder, and don’t forget the Acrylic board.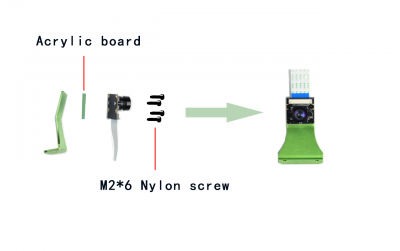
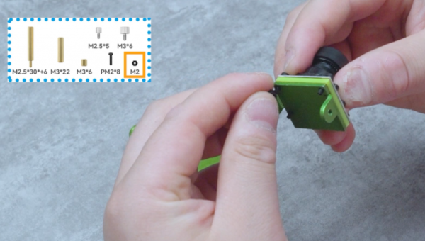
4. Set standoffs on metal box for assembling JetBot expansion board.
5. Set standoffs on jetbot expansion board
for assembling jetson nano developer kit.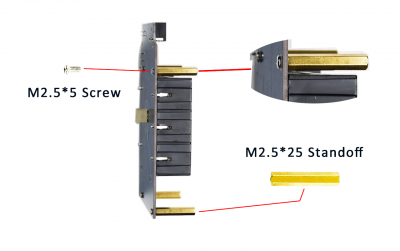
6. Assemble Jetbot expansion board, and adjust the place of antennas.
Mounting 18650 batteries to the batteries holder, you should check the direction of the batteries according to the stickers.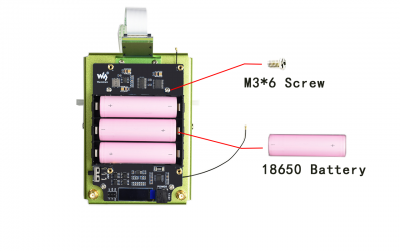
7. Connect motors to the expansion board,
and install two motors to the left and right.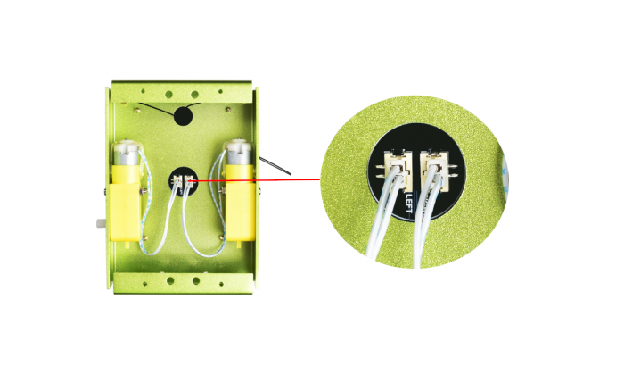
8. Turn out screws from Omni-direction wheels,
then fix the wheels to the metal bottom board.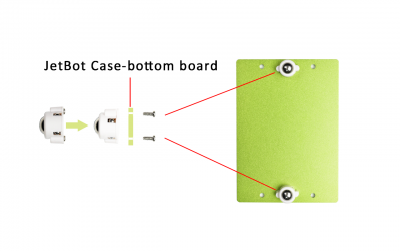
9. Fix the metal board to the metal box.
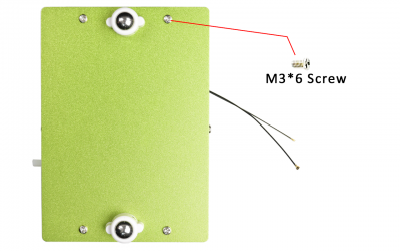
10. Assemble wheels and fix the Jetson Nano board.
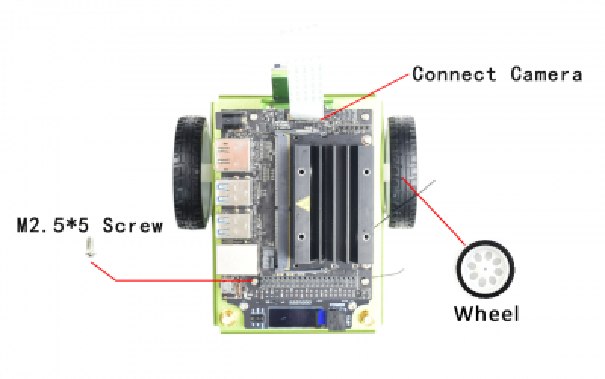
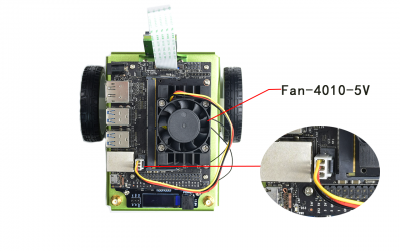
11. Connect the cooling fan.
12. Connect the power adapter to the expansion board and turn the switch to On to power on the Kit.
Note
When you mount or replace the batteries for the first time, you need to connect the power adapter to the expansion board to charge the board for a while to make it work.