High level tour of Neural Networks
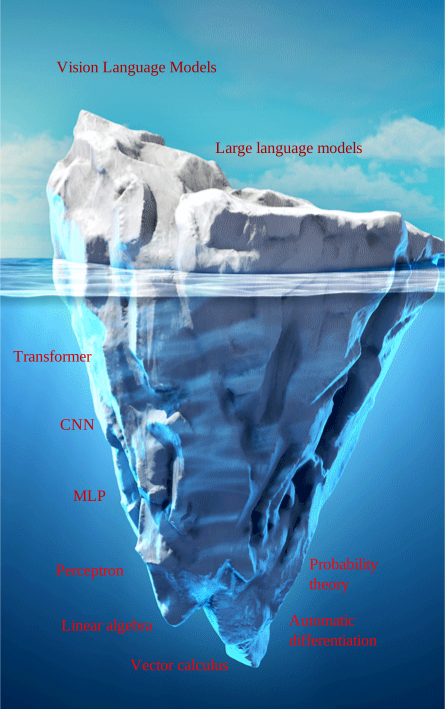
Before we dive deep into the depths of the neural networks iceberg, I want to take you through a tour of the tip of the iceberg. While we are on this tour, we will set up some terminology, and understand some terms that people use while talking about neural networks.
Teachable machines
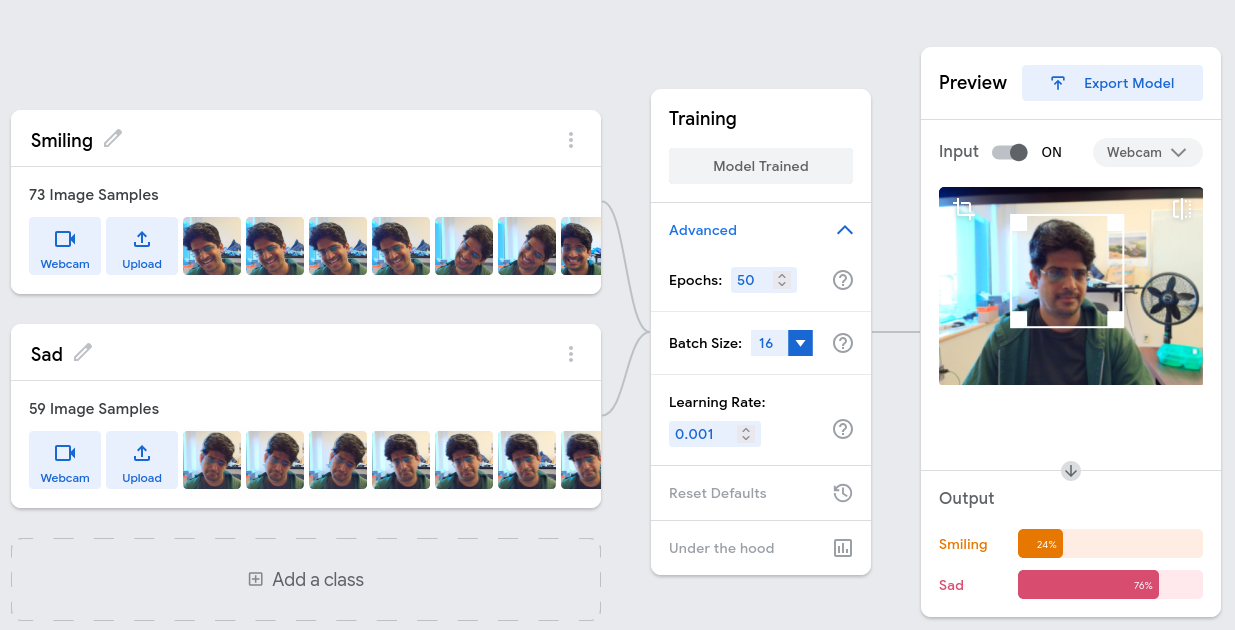
Our tour starts with a very simple demo of teachablemachines
Glossary of terms to understand through this exercises
- Training
- The process of finding weights that fit the data.
- Training data
- Data with labels that you train the model on.
- Classes
- The categories that labels can take.
- Model weights/checkpoint
- The weights corresponding to the model.
- Inference
- Using the model to predict the label.
- Test data
- Sometimes a part of collected data is kept aside to evaluate or test the model.
Instructions
Click on “Class 1”, change it to a class label that you want (e.g “Smiling”).
Click webcam. To capture some class 1 images.
Repeat for other classes. Make sure you have approximately the same number of images for all the classes.
Click train. Congratulations, you have trained your first neural network!!!
Click on preview.
Click on “Export”, choose to download the model in Tensorflow.js format. You should get a zip file.
Extract the zip file. Open
model.jsonin a browser. What do you see?
Gemma 3 on Huggingface
Create an account on Hugging face and try it.
Gemma 3 through Hugging face
Websites can hide a lot of complexity. Any open source website can be run
locally. That takes away a lot of magic away, but still a lot details remain.
Let’s try to run a model on bridges2.psc.edu.
Login
Replace <your PSC username> with your PSC username.
export USER=<your PSC username>
ssh [email protected]
Get node allocation
export USER=<your PSC username>
interact --nodes 1 --ntasks-per-node=4 --mem=22000 --time 1:30:00 -gpu
Load PyTorch singularity image
singularity shell /ocean/containers/ngc/pytorch/pytorch_24.08-py3.sifpip install git+https://github.com/huggingface/[email protected]
pip install huggingface_hub
pip install 'accelerate>=0.26.0Create a Python file
# Sourced from here: https://github.com/huggingface/blog/blob/main/gemma3.md
import torch
from transformers import AutoProcessor, Gemma3ForConditionalGeneration

# Model name to download. We are not going to use this
#ckpt = "google/gemma-3-4b-it"

# We will instead use pre-downloaded weights from
#   vdhiman/.cache/huggingface
# DO NOT change vdhiman here
# ckpt_location directory should contain the file config.json
ckpt_location = "/ocean/projects/cis250148p/vdhiman/.cache/huggingface/hub/models--google--gemma-3-4b-it/snapshots/093f9f388b31de276ce2de164bdc2081324b9767/" #config.json

# processor_ckpt_location should contain the file processor_config.json
processor_ckpt_location = "/ocean/projects/cis250148p/vdhiman/.cache/huggingface/hub/models--google--gemma-3-4b-it/snapshots/093f9f388b31de276ce2de164bdc2081324b9767/" #processor_config.json"

model = Gemma3ForConditionalGeneration.from_pretrained(
    ckpt_location, device_map="cuda", torch_dtype=torch.bfloat16,
    local_files_only=True
)
processor = AutoProcessor.from_pretrained(
    processor_ckpt_location,
    image_processor_filename="processor_config.json",
    local_files_only=True)

messages = [
    {
        "role": "user",
        "content": [
            # you can replace your image sources or provide a
            # string of chats as "text"
            {"type": "image", "url": "https://huggingface.co/spaces/big-vision/paligemma-hf/resolve/main/examples/password.jpg"},
            # {"type": "image", "url": "https://a57.foxnews.com/static.foxnews.com/foxnews.com/content/uploads/2025/03/931/523/trump030625.jpg?ve=1&tl=1"},
            # {"type": "image", "url": "https://vikasdhiman.info/images/headshot.jpg"}
            {"type": "text", "text": "Who is this? What is the password?"}
        ]
    }
]

inputs = processor.apply_chat_template(
    messages, add_generation_prompt=True, tokenize=True,
    return_dict=True, return_tensors="pt"
).to(model.device)

print(torch.cuda.memory_summary())

input_len = inputs["input_ids"].shape[-1]

generation = model.generate(**inputs, max_new_tokens=100, do_sample=False)
generation = generation[0][input_len:]

decoded = processor.decode(generation, skip_special_tokens=True)
print(decoded)
Run the python file
python3 hf_gemma3.pyMin GPT
https://
Clone the repository
git clone https://github.com/karpathy/minGPT
cd minGPT
Create a virtual environment
Create a virtual environment so as to not pollute global installs.
python -m venv minGPTvenvActivate the virtual environment
On windows:
minGPTvenv\Scripts\Activate.ps1On Linux or Mac
source minGPTvenv/bin/activateInstall the dependencies
pip install -e .Train chargpt
Download Tiny Shakespeare
Put it in the current directory (
minGPT).Open
projects/chargpt/chargpt.py. Find the wordgpt-mini, change it togpt-nano.Run
python projects/chargpt/chargpt.pyObserve the language generated changing from gibberish to something more “Shakespeare like.”
One of the simplest neural network model: Multi Layer perceptron
References
https://
https://
https://
https://